
When I was in Year 12, I absolutely loved doing my major design project (MDP). However, it wasn’t easy. You have almost a year to do your project; however, in your HSC year, time flies and before you know it, you will be handing in your project.
Here is some advice that will help you stay on top of your work and achieve that band six. Throughout this article, I will be showing you examples from my MDP when I was in year 12.
Table of Contents
When you should start thinking of your idea.
You should really think about your idea as soon as possible. However, if you want an exact time to start thinking, you should start thinking in the term three holidays before the start of year 12. That way you can start your major straight away so you can spend the maximum possible time on your MDP.
Try not to change your idea throughout the years as it can put you under unnecessary stress. This is why you should think of your idea in the term 3 holidays. If you can not envision your project from start to finish, then you should not attempt the idea. Make sure that you can complete this project within ten months because that is the time you have to complete your major.
Start your project earlier than later
Once you think of an idea that can work, start your project ASAP. You can tell the people that have been consistently working on their project and those who didn’t. If you start your project once year 12 starts, you will be under less stress to complete it when it is due, which is around when most schools have trials.
Choose something you’re good at.
The year when you do your MDP is not the time to try something new or learn a new skill. This always ends in disaster. You have to choose something that you can do in a short time. For example, if you are good at woodwork, you should not be doing a textiles project.
Since I like making movies and doing multimedia based projects, I made a website that allows women to learn self-defence anywhere at any time. Choosing a project idea within your skillset will enable you to enjoy doing your MDP more.
Cost
A common misconception about your MDP is that the more you spend, the more marks it gets. This is completely untrue. What you spend on your project is entirely up to you. You can spend as little as nothing or as much as you want.
It depends on what you are doing for your project. There was someone who spent $30,000 on their project and received a band four. I spent around $150 on my project and got a band six; however, someone in my year also got a band six and only paid $20. It all depends on what you do for your project, so don’t feel pressured to spend lots of money when you don’t have to.

Look at past portfolios from school.
Your teachers would have plenty of example portfolios that you can look at so you have a better understanding of what your portfolio should look like. When I did my project, I had my teacher send me a band six MDP right next to my MDP document so If I was stuck on a section, I could look at a good response.
Get feedback from teachers.
Getting feedback from your teachers is vital when doing your MDP. You always have to make sure that you are on the right track. You can also ask them to proofread your work. My portfolio was over 20,000 words so you can imagine how painful it would be to proofread that on your own. So make sure you are constantly asking teachers for feedback and proofreading your work so you can achieve a band six.
Stay Organised
Doing a major and focusing on all your other subjects is difficult, especially if you have to do more than one major. However, try and work consistently on your MDP to make sure that you are not rushing your project towards the due date, especially when you most likely will have your trial exams.
I worked the hardest and spent the most time on my project in the first two terms of year 12. This was so I was not stressed about it later when I had to study for trials. I recommend starting the production of your project as soon as you have done all of the research and creativity sections prior. I started the production of my project around late March-early April.
Details about the portfolio.
You are probably wondering how you are going to format your project. A portion of your marks comes from the creative decisions you have chosen for your portfolio. If your project portfolio looks aesthetically pleasing, the marker is more likely to give you better marks.
So here are my tips and tricks to make sure that you produce a professional-looking portfolio. You can use a range of softwares to create your portfolio. I used pages however, you can also use Microsoft word, google docs, google presentation etc. I recommend using a software you are familiar with.
Colour
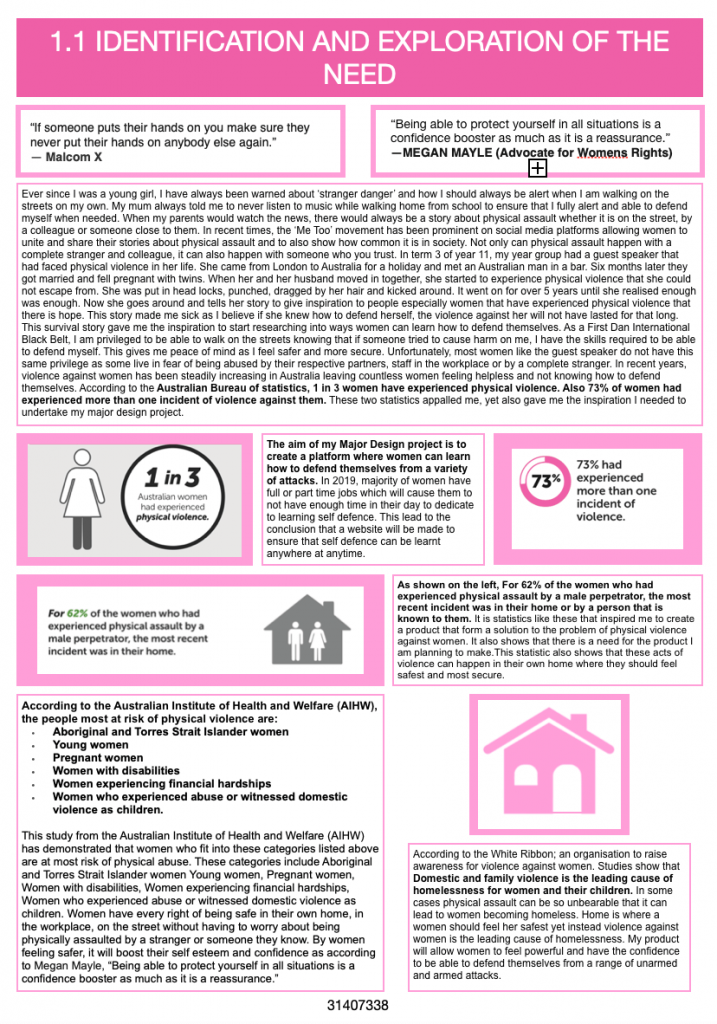
I recommend having a colour scheme throughout your portfolio that goes well with the theme or the target market you have chosen. For example, my product’s target market was women so the colour scheme throughout my portfolio was different shades of pink.
The colour scheme depends on what you are doing for your project. However, don’t go too crazy with colour as your portfolio my look tacky which is not what you want for your MDP.
Big and Clear Headings
In your portfolio, you will have a different section which will show the process that you have undertaken for your MDP. To make sure that your portfolio is clear, make sure that your headings and subheadings are large and clear. Preferably in bold, large text and even in a coloured text box. For example, here are what my headings and subheadings looked like in my MDP:
Font size
Font size is essential as you need to make sure that your text is not too big that it looks silly or too small where you can barely read it. The rule according to NESA, is that you can not have your font smaller than time new roman size 12.
I recommend Arial 12 for body text as it is clear to read and the right size so you can fit the required information on your pages. Headings and subheadings have to be bigger. Just make sure that the marker can know which section is which so you can get marks for those sections.
Pictures
I am sure that you have all heard the saying “pictures speak a thousand words” but it is true. Photos can also be used to break up large amounts of text. The pictures have to be relevant to your project.
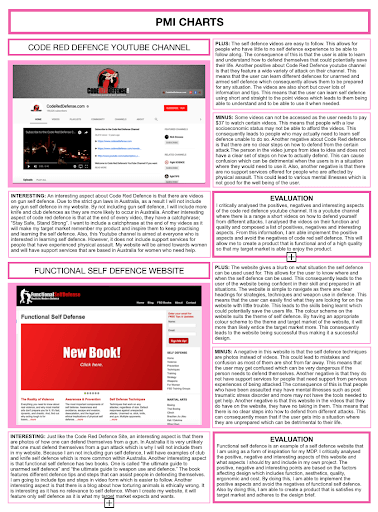
You can put pictures of existing products, graphs, mind maps etc. Also make sure your graphs, statistics, evidence of creativity, photos of production etc. are large to make sure that the marker can see them. This is an example from my portfolio on how I broke up large amounts of text with pictures.
Page size and numbers.
According to NESA your page size can either be A4 or A3. You can also decide between a portrait or landscape portfolio. A popular choice and what I did for my project is an A3 portrait. This is because you have more creative freedom in regards to layout design. If you choose to have your portfolio in A3, then it must not be any more than 40 pages (my portfolio was 39 pages).
If you are doing A4, then your portfolio must not exceed 80 pages. How you lay out your portfolio is entirely up to you so have fun and be creative. Make sure that your NESA number is at the bottom of every page.
Title Page and Contents Page
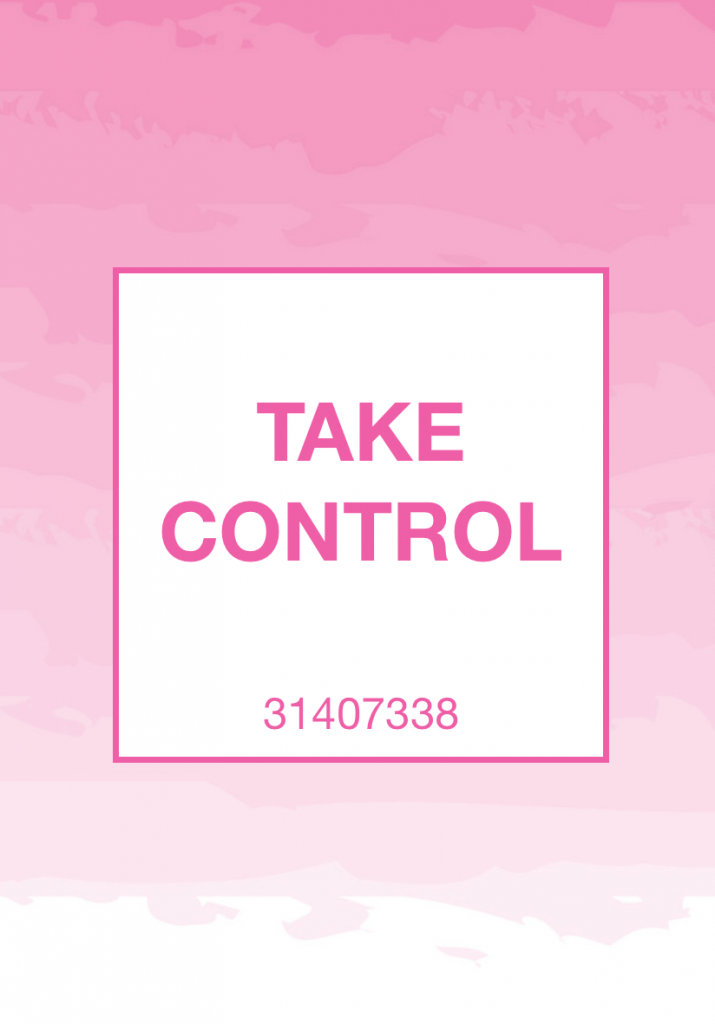
I recommend having a title page, but if you don’t want one, it is okay. Just remember that your title page is included into your page count. If you feel that you are running out of pages, the first page you should remove is your title page. Your title page if you choose to have one should be simple and have the name of your project and your NESA number on it.
In regards to a contents page, I don’t think it is necessary as it just takes up too much space on your portfolio that should be used for information as that is what you are marked on. I didn’t have a content page as I thought it was a waste of space. However, I did have a title page and this is what it looked like:
The day your project gets marked.
Your Display
Now you do not need to worry about your display until Around Term 2 of year 12. However, once you have made progress in your MDP, then it is a good idea to start thinking about it. Your display is for when NESA comes to your school and marks your portfolio out of 60. Your display needs to look professional so the markers are more inclined to give you higher marks.
The more effort you put in, the more marks you will get. Make sure you ONLY use photos, graphs etc. from your portfolio and write on it what page it came from. This is because any extra pictures, research etc. that you put on your display board counts as an additional page.
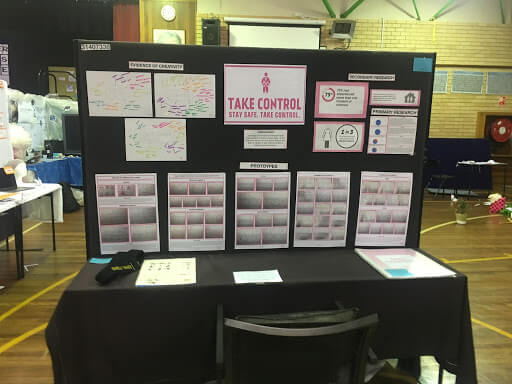
To make sure that you do not lose marks, you must stay under 40 A3 pages or 80 A4 pages. The things you should put on your display should be statistics from your identification and exploration of the need (1.1), Evidence of Creativity (2.1), Testing Design Solutions and most importantly your design brief. This was my display.
Short Video
On top of your portfolio and product, you need to make a six-minute maximum video to sum up your portfolio. This video should include your 1.1, design brief, production steps and someone from your target market using your product. If you are going to put graphs and other photos in your video, make sure that they all come from your portfolio.
What to bring
Here is a generic list of things to bring when setting up your display. This list will be different depending on your project.
- Printouts of:
- Design Brief
- Statistics (Primary and Secondary)
- Prototypes
- Title of your Project
- Any Props that suit your project.
- Portfolio and your product (obviously)
- Table cloth.
- Instructions on how to find your project (If it is on your computer).
- Pins (for the display board).
This article is about coming up with an idea and how to structure your portfolio. If you have any questions about how to tackle a specific section of the portfolio, don’t hesitate to email me! There will also be a part two coming on how to attempt certain sections. Otherwise, this article will be way too long. I want to wish you all the best in making your MDP and hope that you have as much fun I did making mine.
Also, check out my 8 study tips article, to maximise your HSC marks.